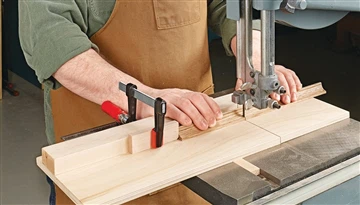
Learning how to sand wood is one of the most difficult chores for new woodworkers. Sanding is a time-consuming procedure, but it is essential to the overall quality of the woodworking job. Learn how to sand wood using a number of methods, from hand sanding to utilizing various types of power sanders, in the following articles. You'll be able to prepare your projects for a superb finish once you've mastered these wood sanding techniques.
1. Choosing the Correct Sandpaper

The first thing to consider when preparing to sand a project is selecting the appropriate sandpaper or sanding disks for the job. The right sanding "tool" is critical to the success of the project, from specific grits to knowing the distinctions in formulations meant for hand sanding or high-speed abrasives.
2. Sheet Sanders

Sheet sanders are frequently seen as the ugly stepchild of the random orbital sander, owing to the fact that they move the sanding pad in a repeated pattern. A sheet sander, on the other hand, is perfectly enough for many initial sanding operations. A sheet sander can also employ a 1/4 or 1/2 sheet of normal sandpaper, making it significantly more cost effective than a random orbital sander (which requires specific sanding disks). Learn about the benefits of using a sheet sander and how to use one on your woodworking projects.
3. Oscillating Spindle Sanders

Few instruments can match the oscillating spindle sander's capacity to sand curved cuts (such as those created by a band saw or jigsaw). This is simply a drum sander with a spindle that travels up and down as the drum spins. This oscillating action exposes more of the sanding drum to the wood, extending the drum's life and eliminating sanding lines. Discover the benefits of utilizing an oscillating spindle sander, as well as new strategies for sanding straight cuts with this one-of-a-kind tool.
4. Sanding by Hand for a Stunning Finish

After sanding with progressively finer grits using your random orbital sander or sheet sander, the final step before finishing the sanding process should always be to give the product a good once-over (at the very least) hand sanding. Hand sanding for a perfect last touch helps you to fine-tune some areas that may require more care, as well as remove any last-minute sanding marks left by the power sander. In this woodworking advice, you'll learn how to offer a final hand sanding before moving on to finishing.
5. How Sanding Belts Are Manufactured

Sanding belts, like sandpaper, have a unique formulation and manufacturing method that allows them to be robust and withstand the heat created by the power of the belt sander. The belts are made from long strips of high-temperature sandpaper that are trimmed to size and taped together to form a loop. Follow along to learn how sanding belts are made.
6. Remove All Traces of Sawdust

After sanding your woodworking product, you must remove all signs of sawdust before applying your desired paint or stain finish. Learn how to remove the last traces of sawdust from your product before proceeding to the finishing phase in this article.