A well-organized tool shed is not just about tidiness-it's about efficiency, safety, and preserving the longevity of your tools. Whether you're a DIY enthusiast, a professional tradesperson, or simply a homeowner looking to keep everything in order, having a system in place will save you
time and energy. As WORKPRO hardware, we believe in empowering individuals and businesses with high-quality tools, and we invite hardware companies of all sizes to join us as distributors. For inquiries, reach out to sales@workprotool.com.
In this blog, we'll dive into step-by-step tips on organizing your tool shed while optimizing it for maximum efficiency.
Step 1: Empty and Assess Your Tool Shed
Before diving into the organization, take everything out of your tool shed. This allows you to:
• Inventory your tools: Identify duplicates, damaged tools, or those you no longer use.
• Deep clean the space: Sweep, dust, and remove cobwebs to start with a fresh slate.
Step 2: Categorize Your Tools
Divide your tools into categories such as:
• Hand tools: Hammers, screwdrivers, pliers.
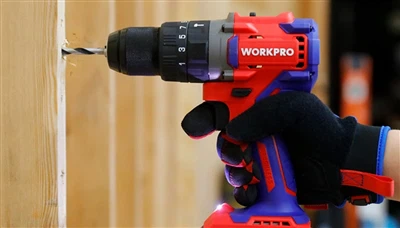
• Power tools: Drills, saws, grinders.
• Gardening tools: Shovels, pruners, rakes.
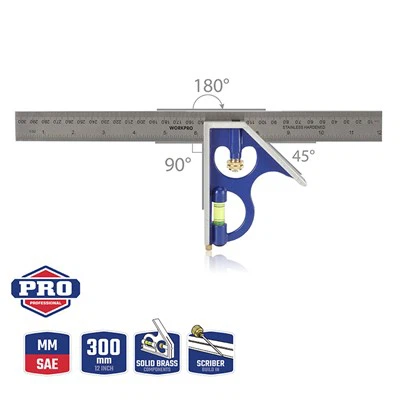
• Specialty tools: Laser levels, tile cutters, or electrical equipment.
This step ensures every tool has a designated space, reducing clutter and improving accessibility.
Step 3: Optimize Wall Storage with Pegboards
Pegboards are game-changers for tool organization. Use hooks and shelves to hang tools like
wrenches, saws, and scissors.
• Advantages of pegboards:
o Maximizes vertical space.
o Keeps tools visible and easy to grab.
o Adaptable to changing needs.
Step 4: Install Shelving Units
For larger tools and storage bins, install sturdy shelves.
• Pro tip: Use clear, labelled bins for smaller items like screws, nails, and washers.
• Heavy-duty shelving: Ideal for power tools or hardware kits.
Step 5: Utilize Magnetic Strips for Small Tools
Magnetic strips are perfect for holding metal tools like pliers, screwdrivers, and utility knives.
Mount them near your workbench for quick access.
Step 6: Invest in a Tool Chest or Mobile Cart
For high-value or frequently used tools, a lockable tool chest is essential. Mobile carts provide
portability, allowing you to move tools to different areas of your workspace.
Step 7: Label Everything
Clearly label shelves, bins, and drawers. This small step saves time and ensures that every tool is
returned to its proper place after use.
Step 8: Implement Safety Measures
Safety is a crucial part of tool shed organization:
• Childproofing: Install locks on cabinets containing sharp tools or chemicals.
• First aid: Keep a kit easily accessible.
• Proper ventilation: Especially important if you store paints or chemicals.
Step 9: Maintain Your Tool Shed Regularly
To keep your tool shed in top shape:
• Clean tools after every use to prevent rust.
• Schedule monthly checks to declutter and ensure tools are in working order.
• Rotate seasonal tools to the front for easy access.
Step 10: Choose Durable and Reliable Tools
The best-organized tool shed is incomplete without high-quality tools. WORKPRO hardware
offers a diverse range of durable, ergonomic, and reliable tools to meet all your needs.
Why WORKPRO Hardware is Your Go-To Partner
At WORKPRO, we are dedicated to creating tools that blend performance, innovation, and affordability. Whether you're a small hardware store or a large retailer, becoming a WORKPRO distributor offers you a chance to:
• Provide your customers with top-tier products.
• Gain access to our global distribution network.
• Enjoy competitive pricing and dedicated support.
Partner with WORKPRO Hardware Today!
We invite all hardware companies, big or small, to join our growing network of distributors worldwide. Together, let's bring superior tools to every corner of the globe. For partnership inquiries, contact us at sales@workprotool.com.
By following these steps, you can transform your tool shed into a well-organized, efficient space that meets your needs. Start today and experience the difference a structured system can make!